Hi Stamping Friends!
I'm back after a few days off! I had planned on having a few blog posts scheduled during my time off, but my blog platform was not cooperating with me. So, I just turned everything off and enjoyed a few days without any stamping thoughts what-so-ever. It's so difficult for me to turn my back on my business, even to relax a bit. It has been a few years, yes YEARS, since I truly left all of the stamping behind enough to enjoy some guilt-free rejuvenation during my Alaska incentive trip. No trip this time, just reading and snuggling dogs and watching shows and eating…ahhhh! Now, I'm feeling refreshed and ready for more stamping fun this week!
Today I'm sharing the final pair of cards I created for my Snow Wonder LIVE 5-Card Class Kit, which I'm mailing out today. Although the 5-Card Kit is no longer available, you can still enjoy the Snow Wonder LIVE Class Replay here. And, my 12-Card Snow Wonder Countdown To Christmas Class with signups open through November 19!
____________________________________________________
Sign Up Now For The Final Countdown To Christmas Class!

Introducing The Final Countdown To Christmas
Class Featuring The Snow Wonder Bundle!
12-Card Kit • Stamp Set, Envelopes & Bonus Products Included
Add Inks & Adhesives!
Registration Ends November 19, 2020
_________________________________________________________

Snow Wonder Snowy Scene Cards
The elements in the Snow Wonder stamp set make it so simple to create sweet, snowy scenes. I love the simple layers on these two cards!

Background Basics—I started with a pretty pattern from the Trimming The Town Designer Series Paper measuring 3" x 4-1/4", mounted onto an Old Olive card base. Next, I stamped the Snow Wonder pines image in Pear Pizzazz ink three times across the top-half of a 5" x 3-3/4" piece of Whisper White cardstock.

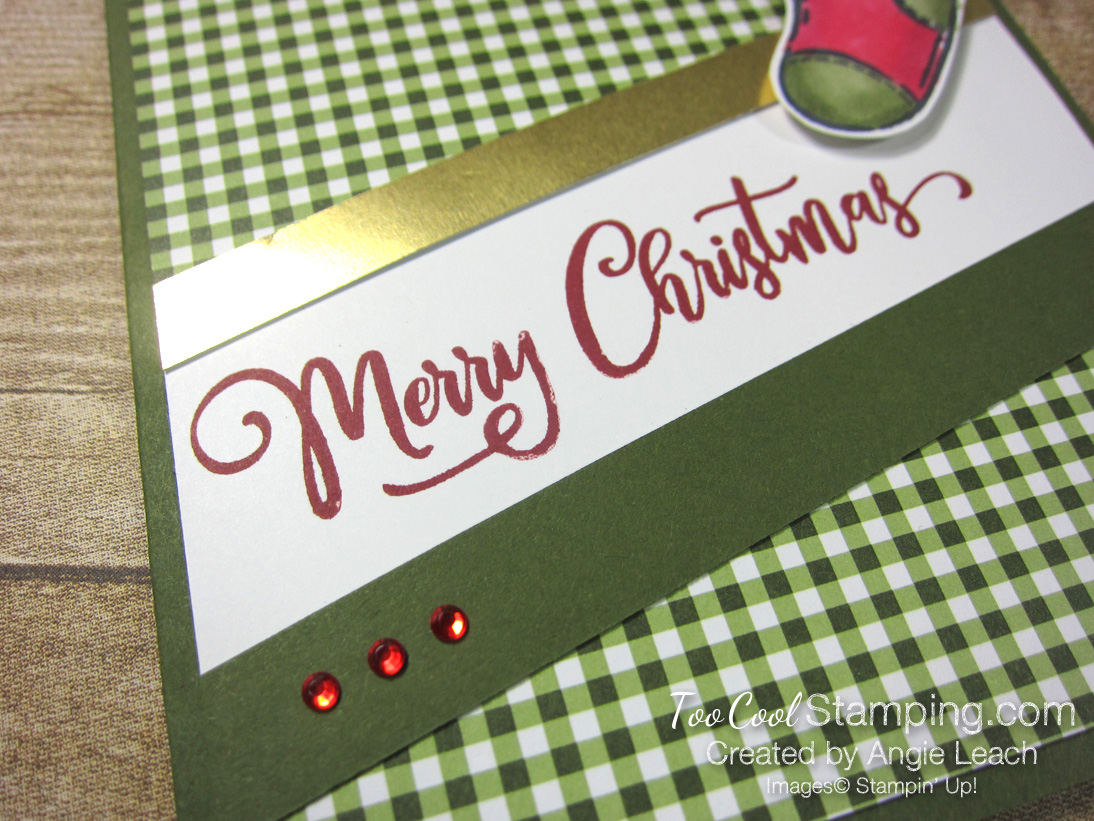
Sweet Sentiment—I stamped a Snow Wonder sentiment in Early Espresso ink (yes, it's Misty Moonlight in the photo, but that's a mistake!) onto a 5" x 1-1/4" strip of Pool Party. I adhered it onto the Whisper White piece, then tied some All The Trimming Old Olive ribbon around the layer before mounting it onto the card front with SEAL adhesive.

Sweet Snowman—I stamped the Snow Wonder snowman image in Early Espresso ink onto Whisper White cardstock, then colored him in with Stampin' Blends Markers. I colored the hat with Bermuda Bay, the scarf and leaves with Old Olive, the berries with Real Red and added some light snowy accents with Pool Party. He's die-cut with the Snow Time Dies and popped up with Dimensionals.
Finishing Touches—Of course, my favorite part of this card are the little Adhesive-Backed Snowflakes! Add a few of those floating around amidst the trees. Absolutely darling!

Two Cool—My second version begins with a Misty Moonlight card base and a different Trimming The Town DSP pattern for the background.
 Sweet Scene—I changed up the Snow Wonder sentiment, stamping it in Misty Moonlight. The snowman is stamped in Misty Moonlight, as well! He's colored with Real Red for the scarf and berries, Pool Party for the hat and snow and Old Olive for the leaves. Don't be afraid to stamp that snowman in all kinds of colors for different wintery look!
Shop Items To Create These Projects
")


_________________________________________________________
I'd Love To Hear From You! Leave A Comment
• • • • •
Thanks For Stopping By Today!

Join My Too Cool Stamping VIP Facebook Group
Too Cool Classes & Events Calendar

______________________________________________________________

Available November 3 – January 4
___________________________________________________________________